Grout Scratch Remover: A Step-by-Step Guide for Homeowners
Learn safe, practical steps to remove grout scratches, restore color, and prevent future wear with a step-by-step guide from Grout Maintenance.

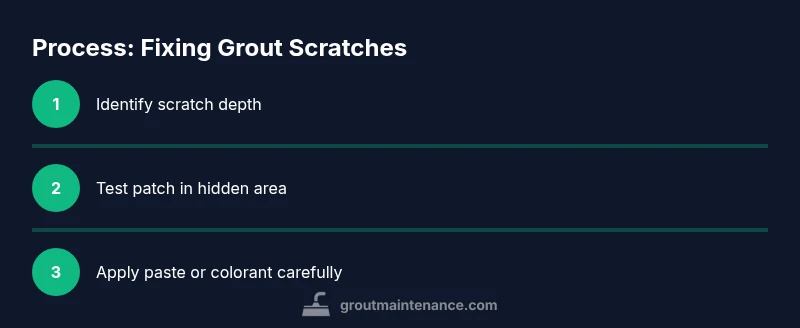
Goal: remove light grout scratches without replacing tile. Start with a mild, pH-neutral cleaner, then test a baking soda paste on a hidden patch using a soft nylon brush. Gently buff in circular motions, rinse, and inspect. If scratches persist beyond surface, explore colorant or regrouting options with proper sealers. Always test in a discreet area first.
Understanding grout scratches
Grout scratches are marks that mar the surface of grout joints, often caused by grit in cleaning tools, abrasive cleaners, or heavy use. Most homes rely on cementitious grout that can wear down over time, leaving fine lines or grooves visible in high-traffic areas like kitchens and showers. Epoxy grout is generally tougher but can still show wear if aggressive tools are used. The key is to distinguish between a surface haze or residue and a true scratch. According to Grout Maintenance, a scratch feels like a shallow groove under the fingernail and will persist after simple cleaning. Lighting also matters: scratches tend to be more noticeable on lighter grout colors. In this section, you’ll learn how to identify scratch type, understand why porosity and color affect visibility, and decide which method will protect grout integrity while restoring uniform appearance. The goal is to repair without compromising tile edges or the underlying setting bed.
Tools & Materials
- pH-neutral grout cleaner(Choose a non-acid formula designed for cementitious grout.)
- baking soda(Fine powder for a paste with water.)
- water(For mixing and rinsing.)
- soft nylon brush / old toothbrush(Gentle bristles prevent further scratching.)
- microfiber cloths(Polish and dry to avoid water spots.)
- non-abrasive sponge(Useful for wiping residue without scratching.)
- grout colorant or stain (optional)(Conceals scratches after cleaning; test shade first.)
- grout sealer (penetrating) (optional)(Seal after colorant if applicable.)
- gloves(Protect hands from cleaners and grit.)
Steps
Estimated time: 60-120 minutes
- 1
Inspect and test a patch
Choose a hidden or inconspicuous grout joint and test the planned method there. Note the grout color, texture, and how it reacts to cleaner. If color changes, stop and switch approaches.
Tip: Always test on a small area before broader application. - 2
Mix a gentle paste
Create a thin paste by mixing baking soda with a small amount of water until it forms a spreadable consistency. Avoid thick pastes that can cling and require extra scrubbing.
Tip: Thin pastes reduce friction and limit deeper abrasion. - 3
Apply and buff the scratch
Dab the paste onto the scratch and gently buff in circular motions with a soft brush. Do not press hard; the goal is to lift surface residue, not grind away grout.
Tip: Use light pressure and small, controlled strokes. - 4
Rinse and dry
Rinse with clean water and blot dry with microfiber cloth. Inspect the area for improvement; repeat once if needed, but avoid over-wetting.
Tip: Drying reveals true depth of the scratch. - 5
Consider colorant or stain
If the scratch remains visible, apply a grout colorant or stain following manufacturer directions. Test shade in an inconspicuous spot first.
Tip: Choose a shade that matches the surrounding grout to minimize contrast. - 6
Decide if regrout is needed
For deep, persistent scratches, especially in high-porosity cementitious grout, plan a regrout or professional cleaning. This preserves overall tile integrity.
Tip: Regrouting often yields the most durable long-term result. - 7
Seal and maintain
If you used colorant or stain, seal per product directions. Maintain with regular, non-acid cleaning to slow future wear.
Tip: Sealers should cure fully before exposure to moisture. - 8
Document and schedule maintenance
Keep notes on what method worked and when you’ll recheck grouted joints. Regular maintenance helps prevent future scratches.
Tip: A simple calendar reminder keeps grout in good condition.
Got Questions?
What causes grout scratches and how can I prevent them?
Scratches come from abrasive cleaning tools, grit in brushes, and heavy traffic. Preventative care includes using a soft brush, non-acid cleaners, and sealing porous grout to reduce wear.
Scratches happen when you scrub too hard or use the wrong cleaner. Use a soft brush and seal grout to prevent wear.
Can I use household vinegar to clean scratched grout?
Vinegar is acidic and can degrade cementitious grout over time. For most grout types, opt for a pH-neutral cleaner and test in a hidden area first.
Vinegar can damage grout, so stick with a pH-neutral cleaner and test first.
Is epoxy grout less prone to scratches than cementitious grout?
Epoxy grout is generally more resistant to scratching and staining than cementitious grout, but it still benefits from gentle cleaning and proper sealing.
Epoxy grout resists scratches better, but still requires gentle care.
When should I regrout instead of repairing scratches?
If scratches are deep, widespread, or the grout is crumbling, regrouting is usually the longest-lasting fix. Consider consulting a professional for large areas.
If scratches are deep or the grout is crumbling, regrouting is often the best option.
Do colorants permanently hide scratches?
Colorants can camouflage scratches but may alter shade slightly. Always test in a small area and follow with a sealer if required.
Colorants can hide scratches, but test first and seal if needed.
What safety steps should I take when cleaning grout?
Wear gloves for chemical protection, work in a well-ventilated area, and avoid mixing cleaners unless specified by the product.
Wear gloves, ventilate the area, and follow label directions for cleaners.
Watch Video
The Essentials
- Start gentle; test first.
- Identify depth before choosing a method.
- Use non-abrasive cleaners and soft tools.
- Colorants and sealers can hide or protect.
- Regrout is often the most durable fix for deep scratches.